Polycrub build, phase 4 – the ends

It has been a really busy week even with George on holiday and grown up children visiting to help for part of the week.

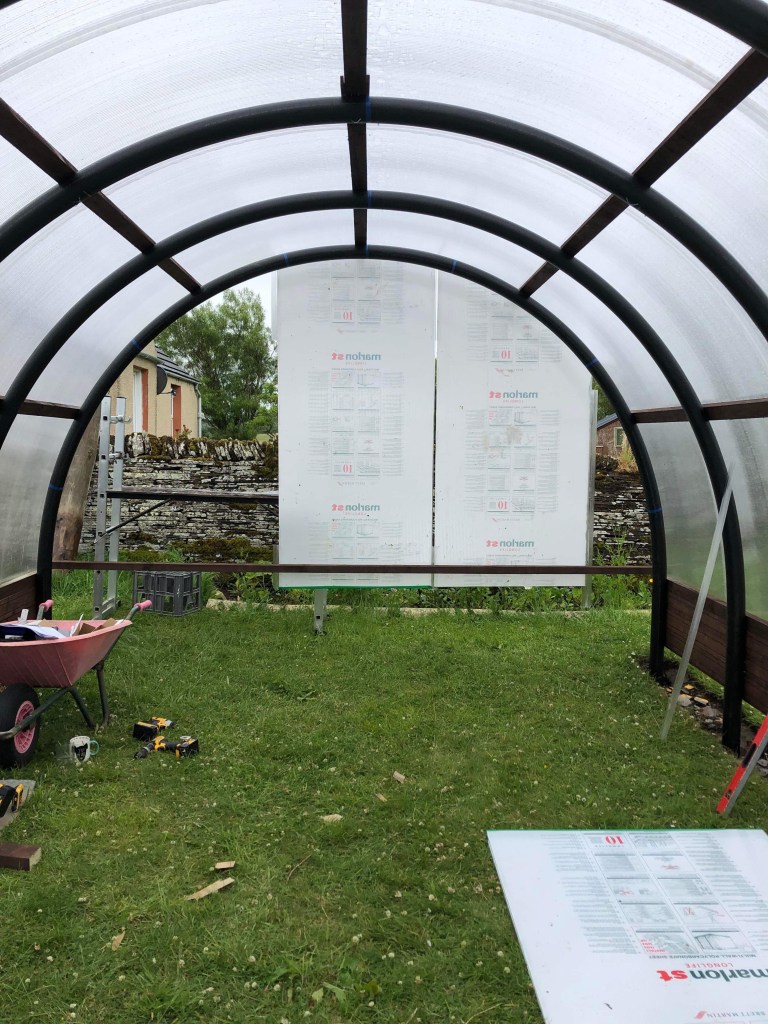
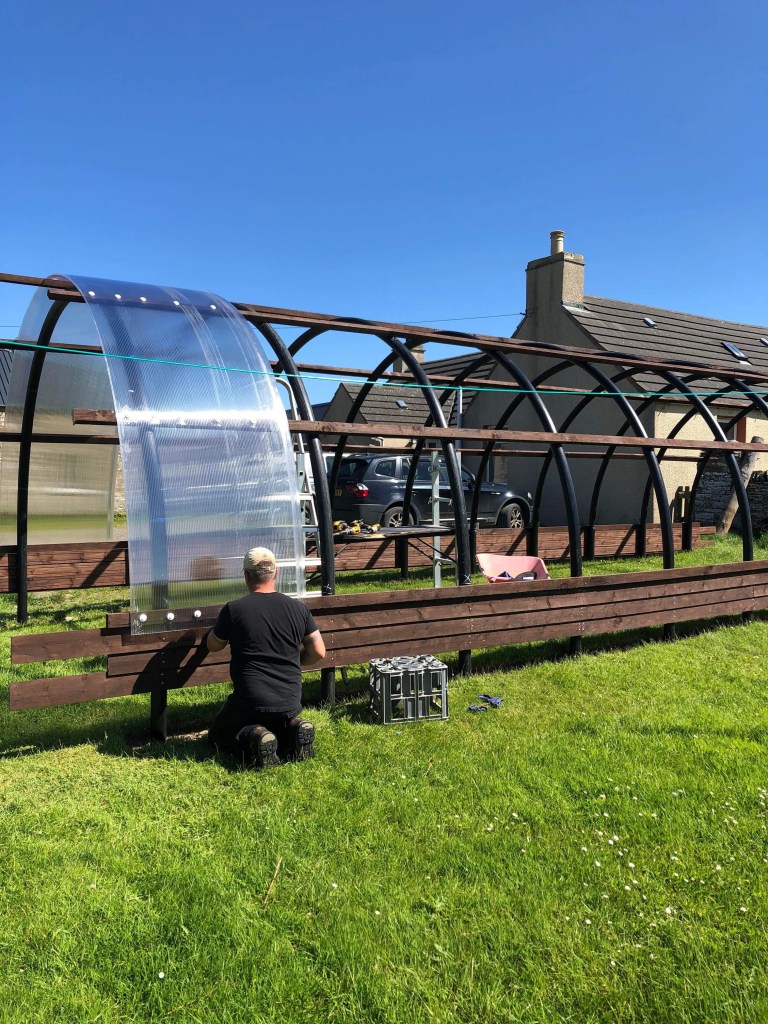
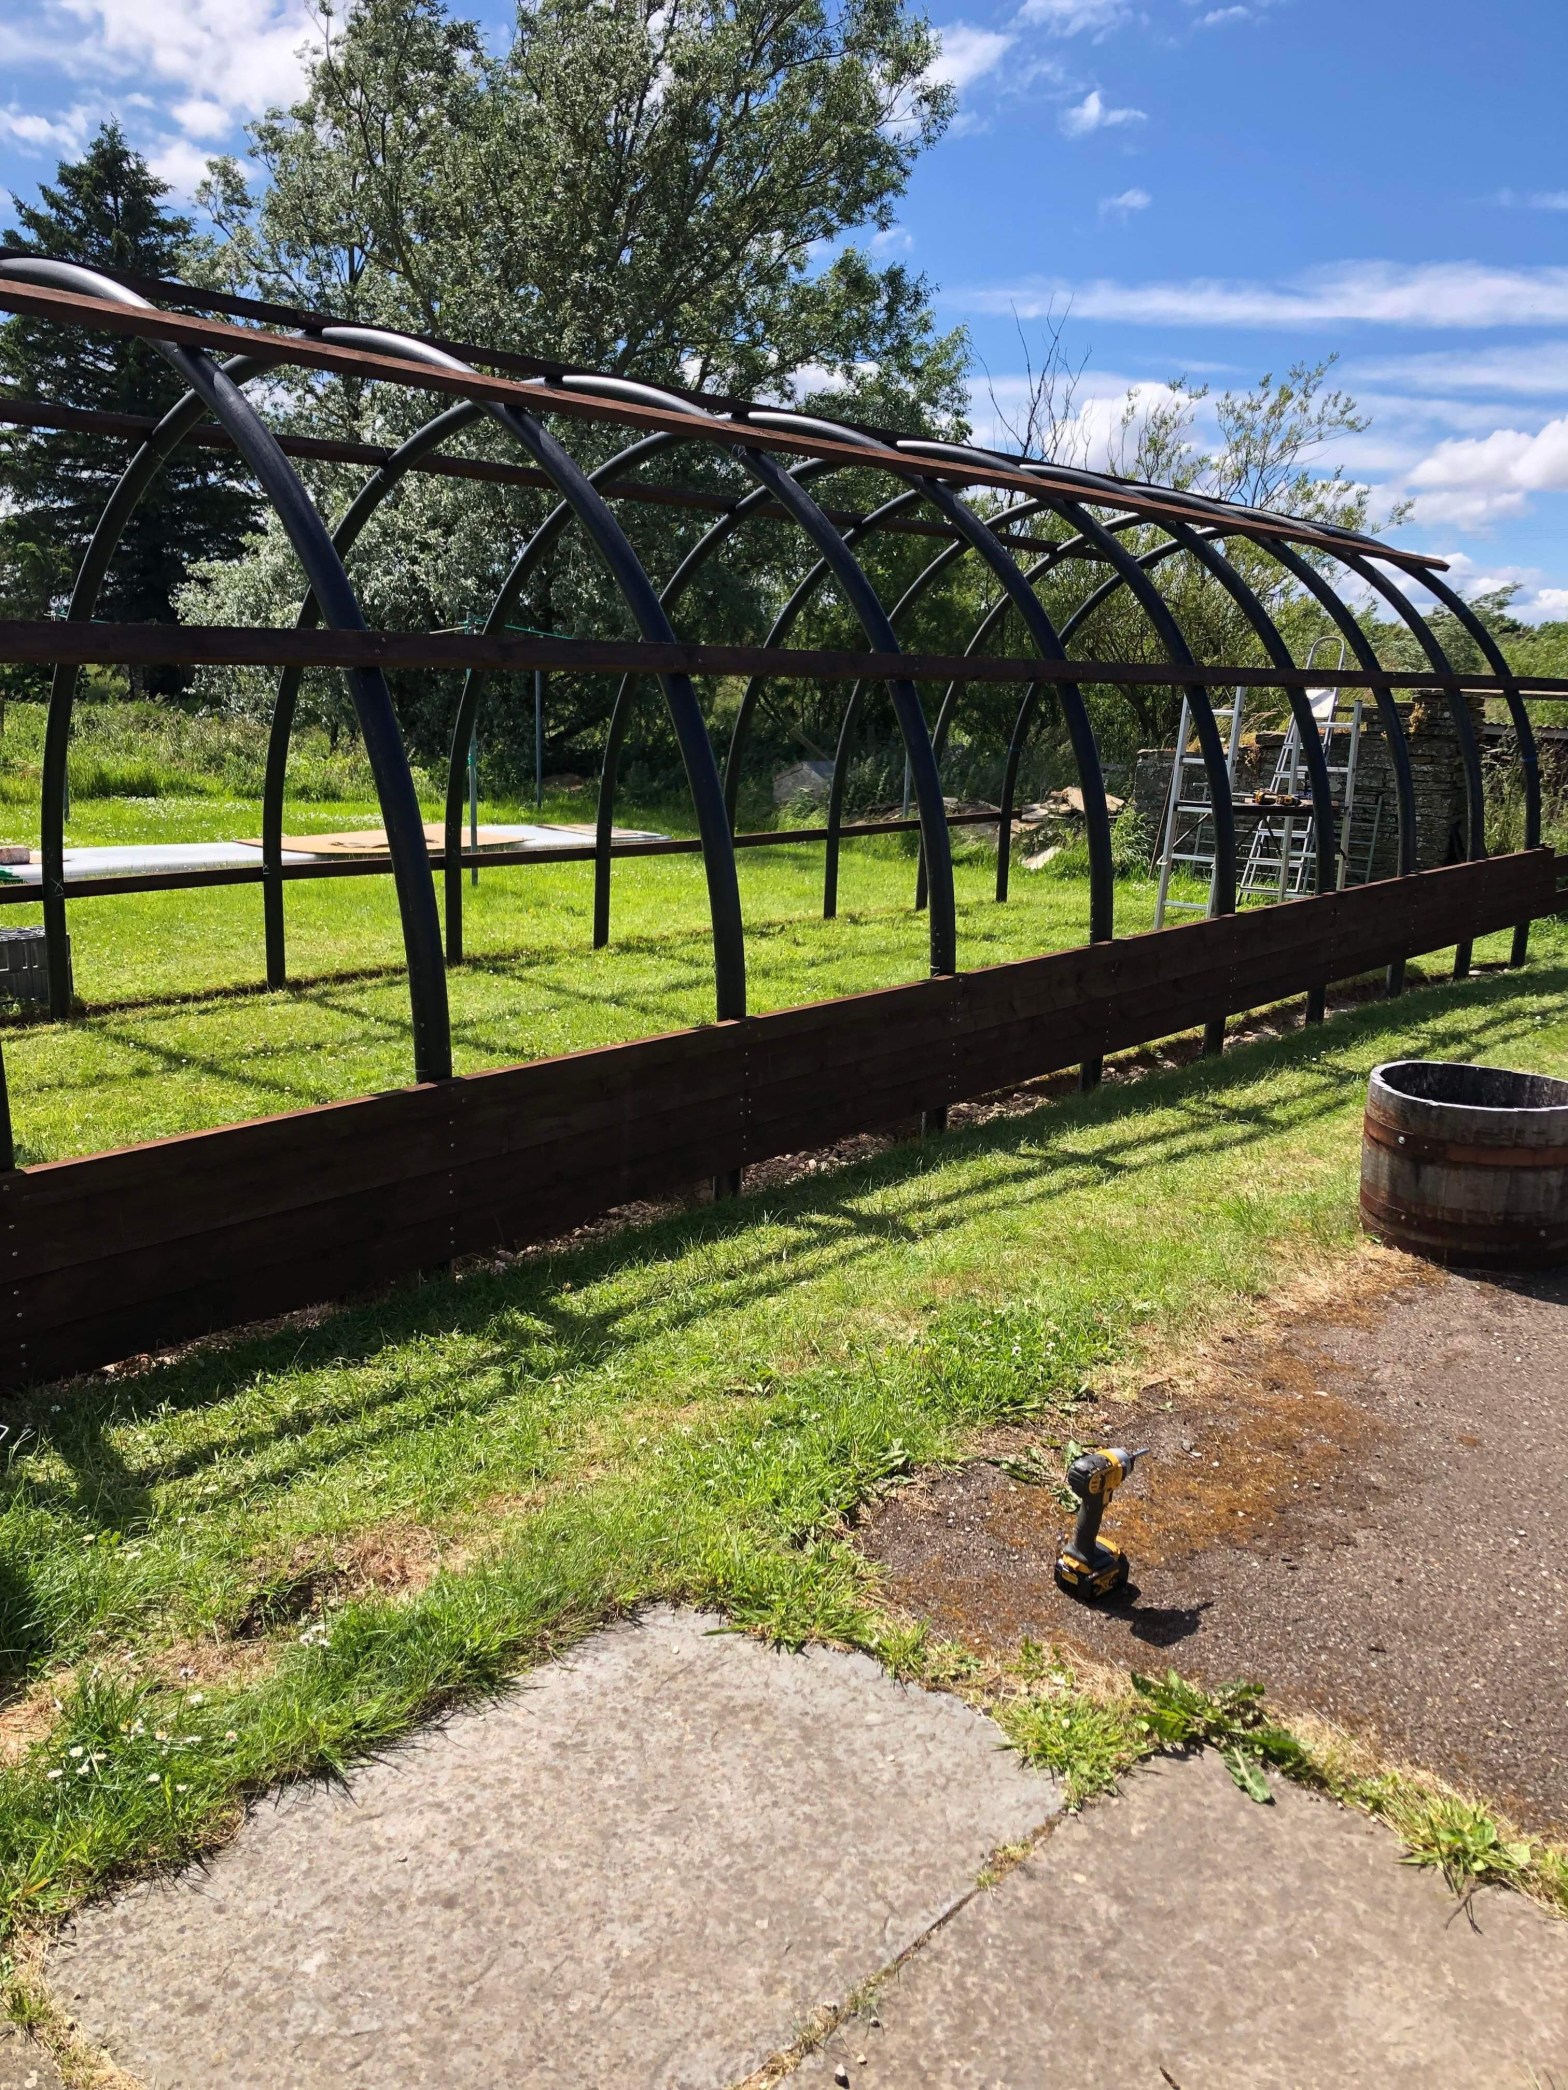
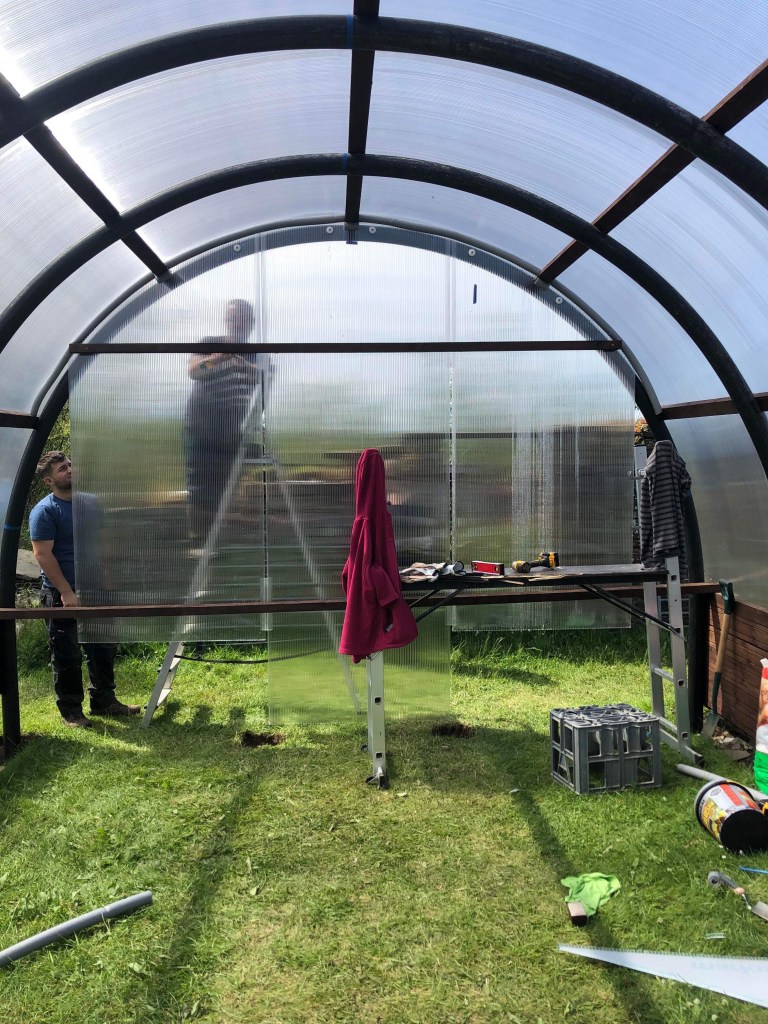
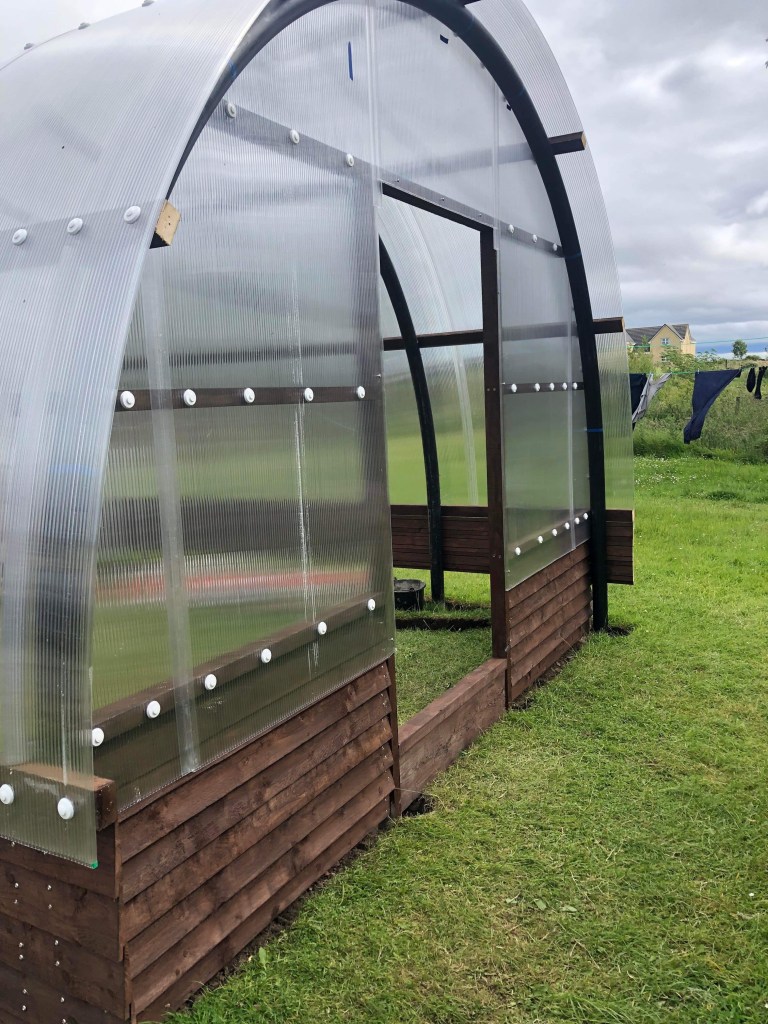
We started off with the window end. This is done by placing a temporary piece of wood at the bottom perlins, finding the middle, working out the drop and cutting the first piece of polycarbonate. This is the temporarily attached to the out side. We then worked our way across the end in both directions. With the polycarbonate in place we were then able to mark it so it could be taken down and cut so that the pieces fit just inside the first hoop.

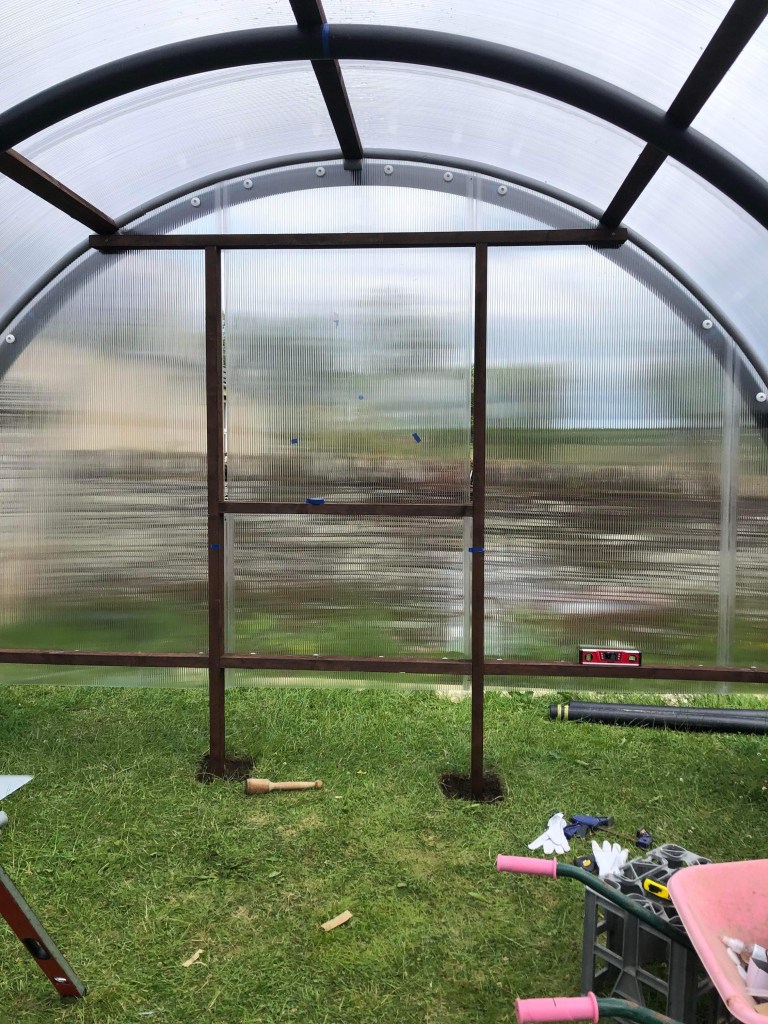
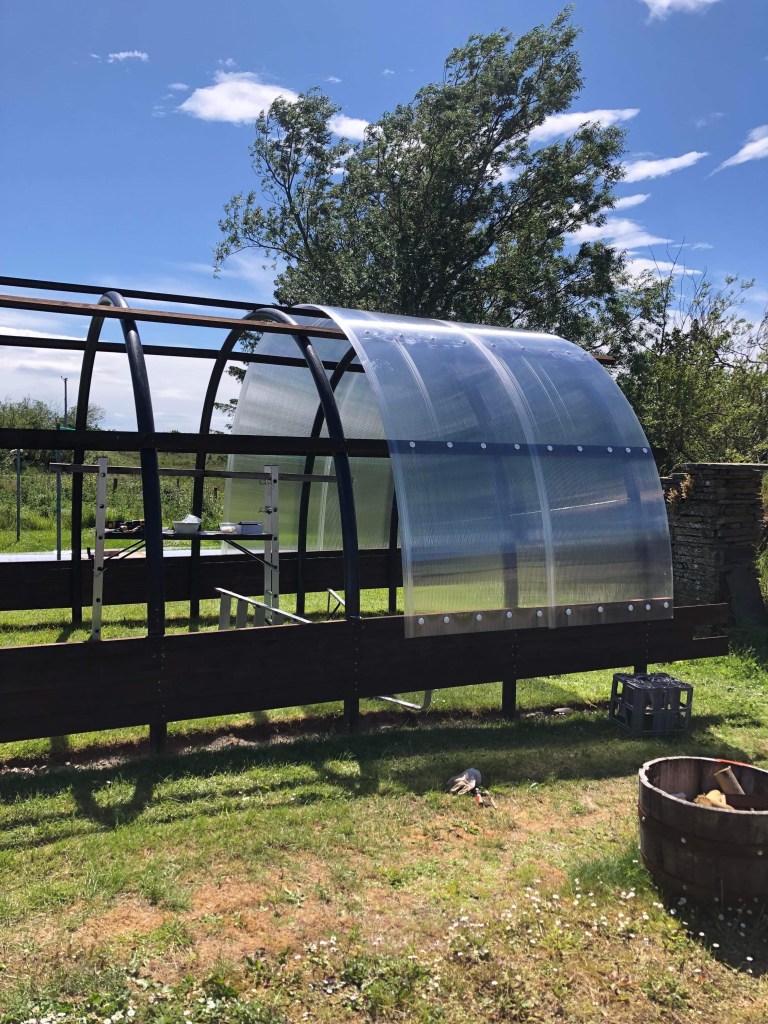
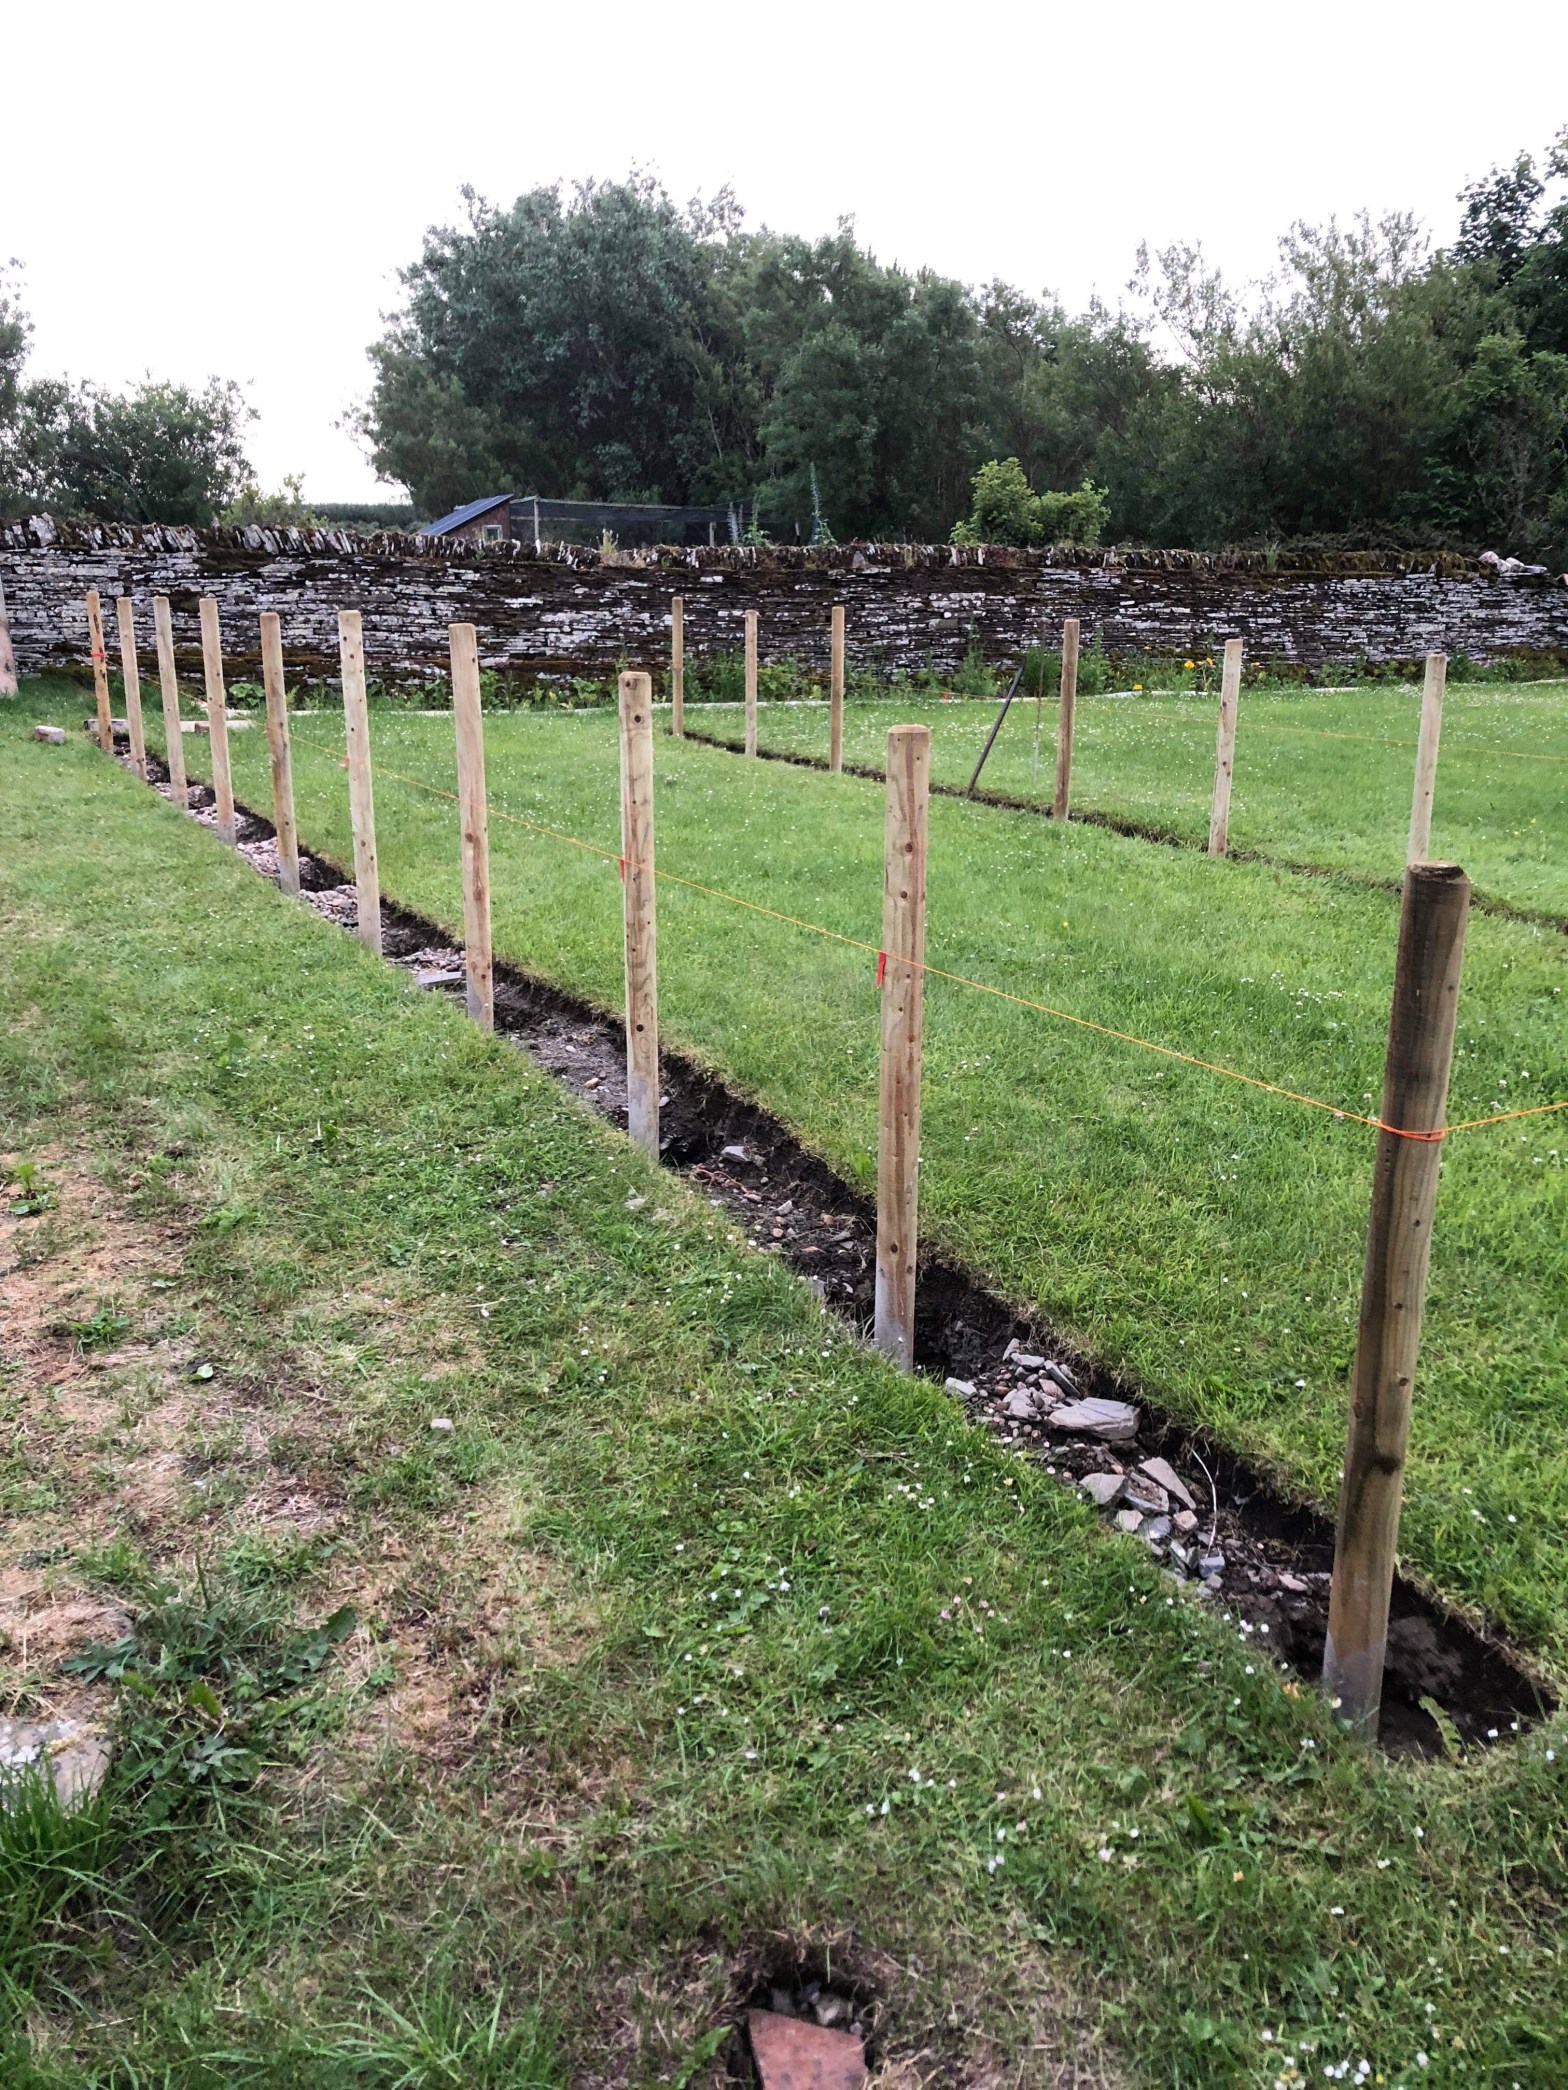
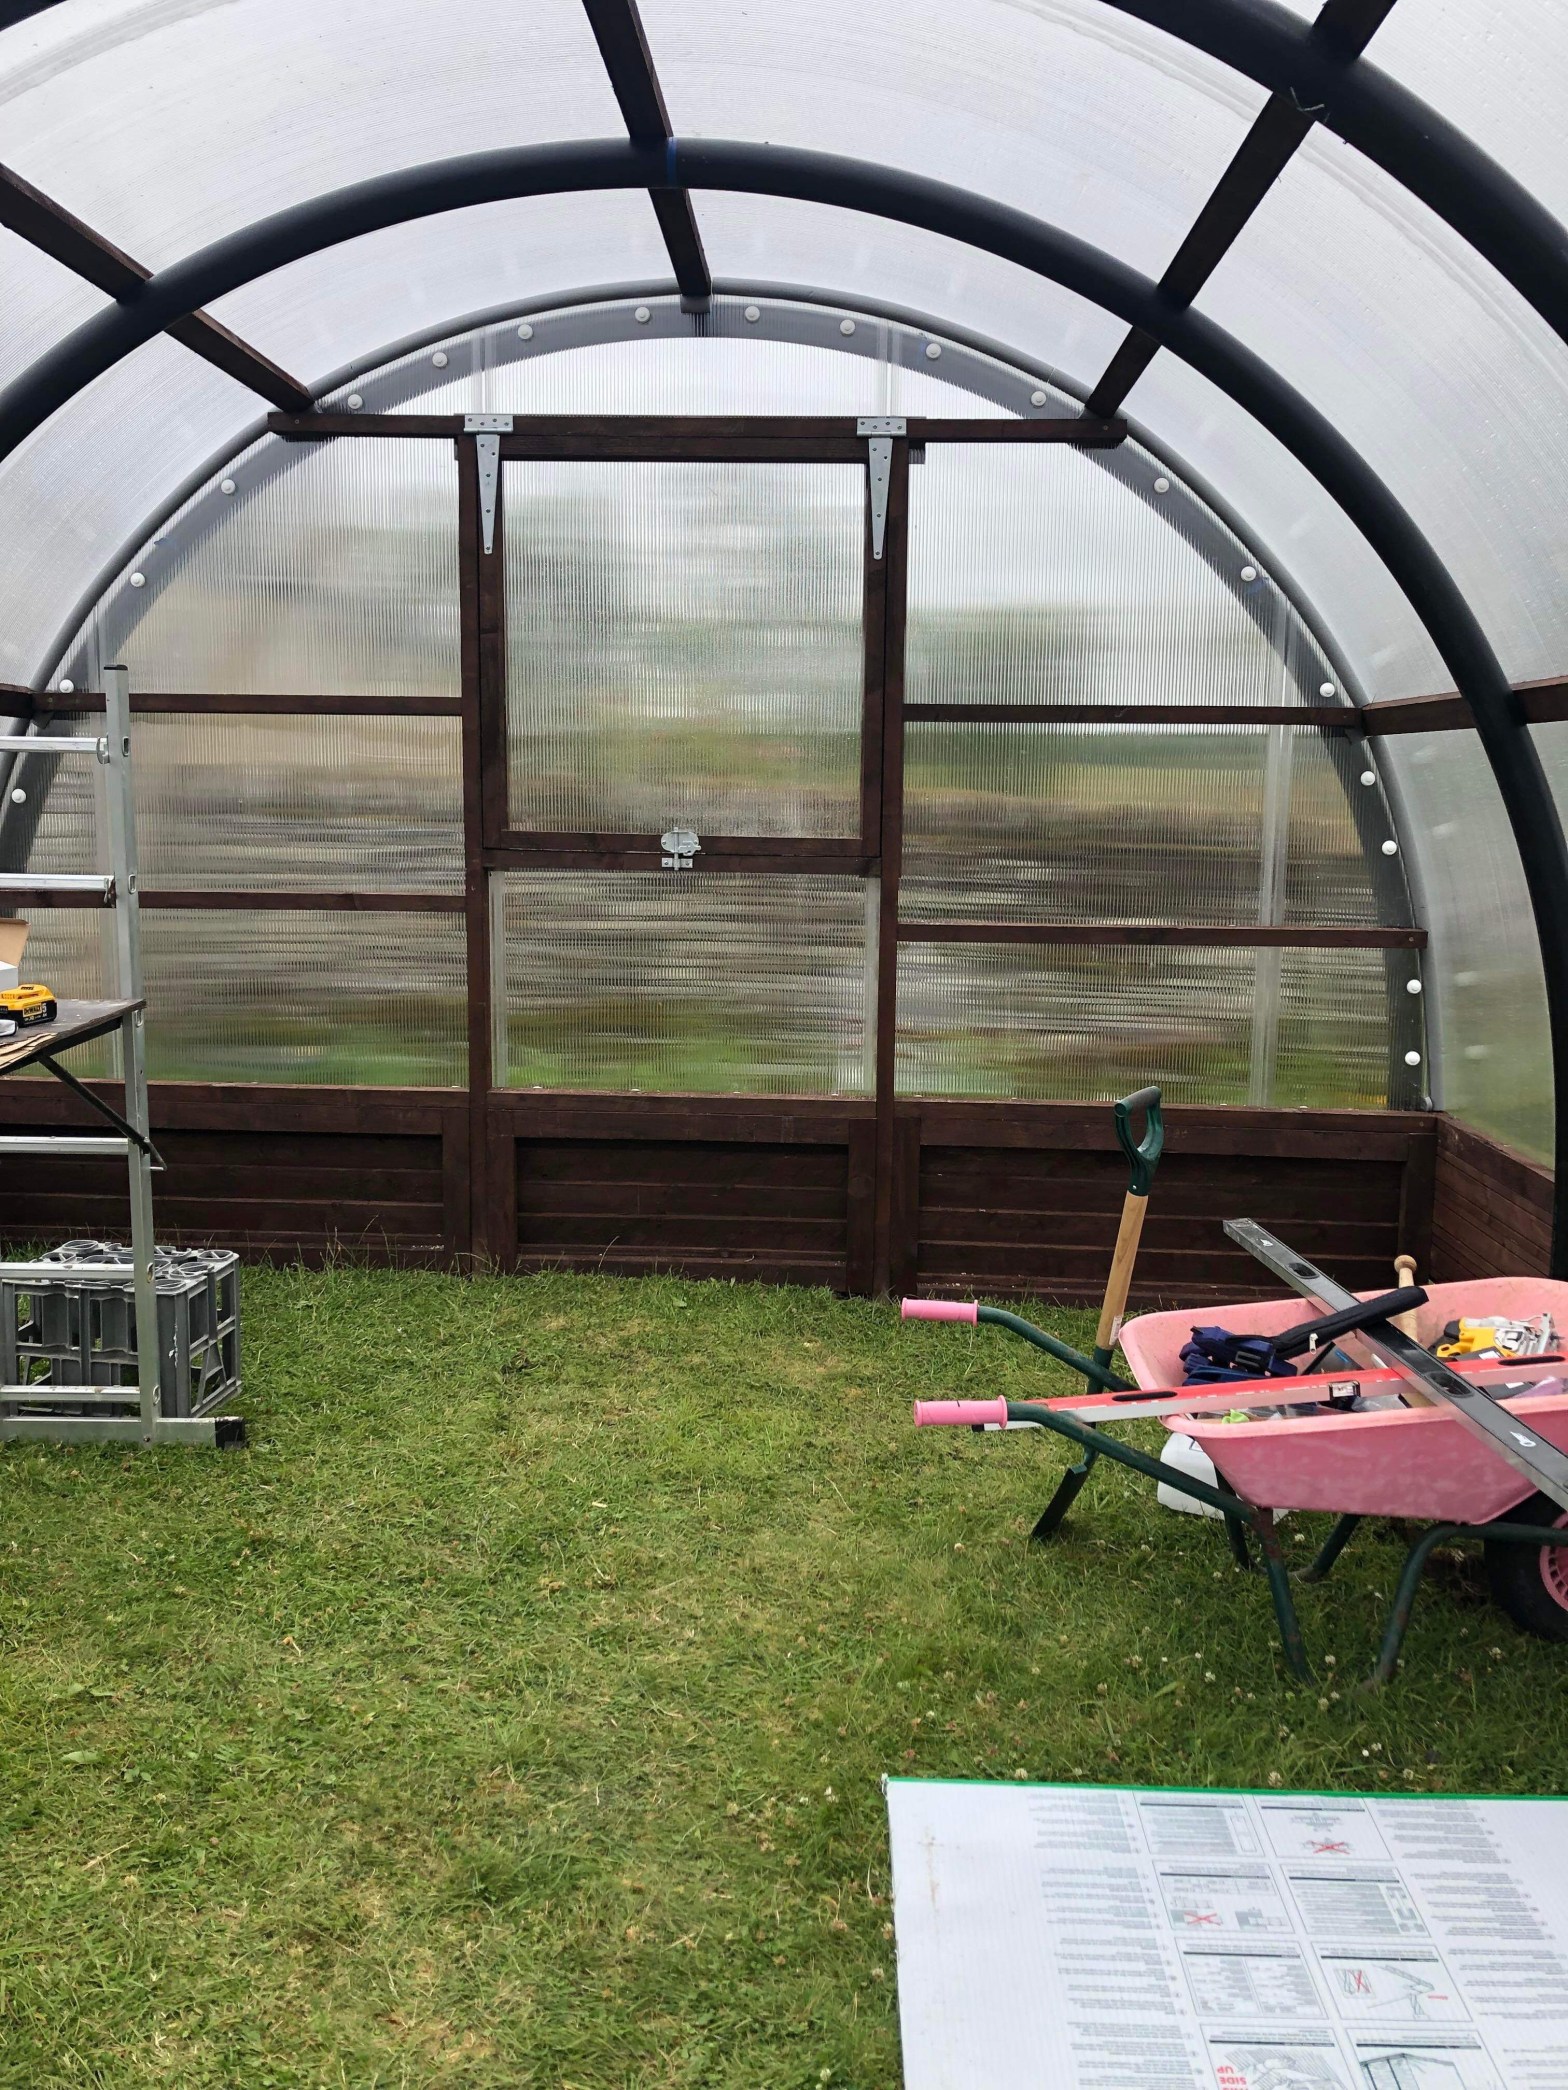
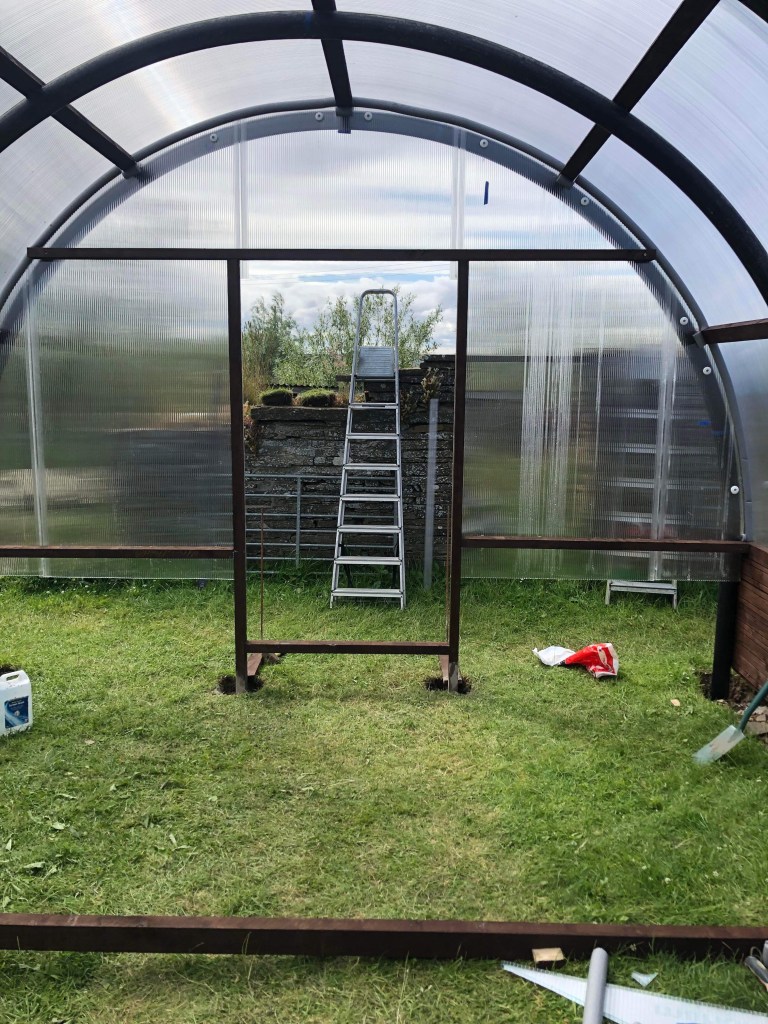
After digging out the holes for the window uprights, we then attached the polycarbonate. The lintel and window framing can the be added.

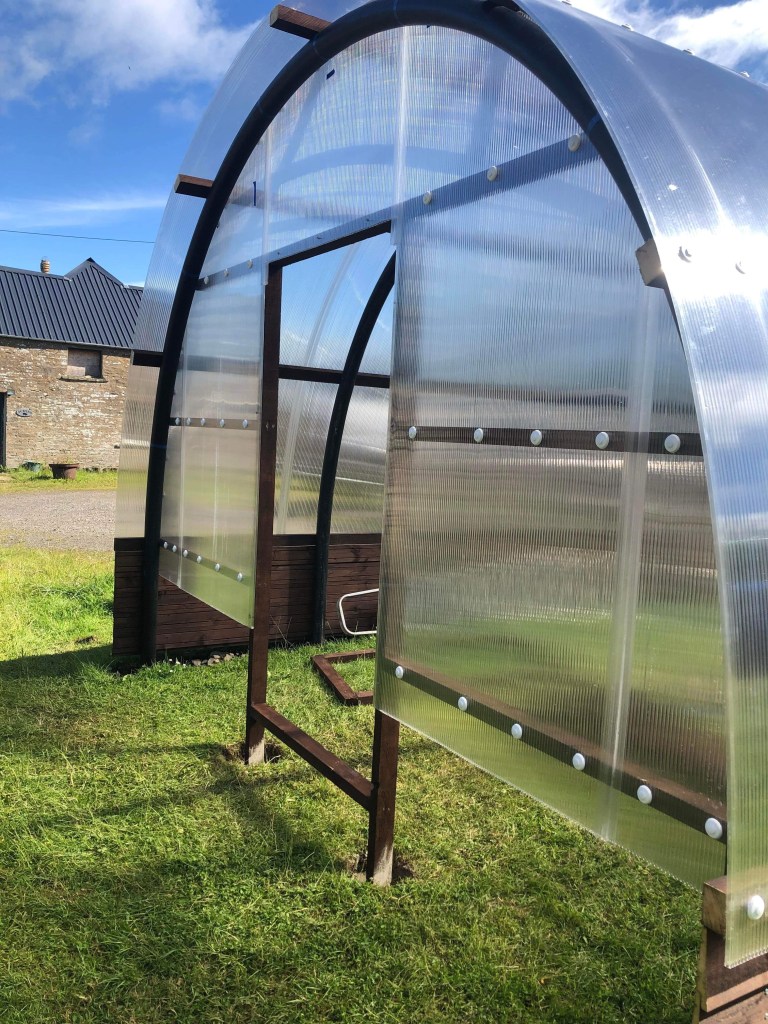
This was followed by the rest of the framing, cutting out the window polycarbonate and building and attaching the window. The window uprights were then concerted into place. We built the frames which were cladded in weatherboard and attached below the polycarbonate. End one done

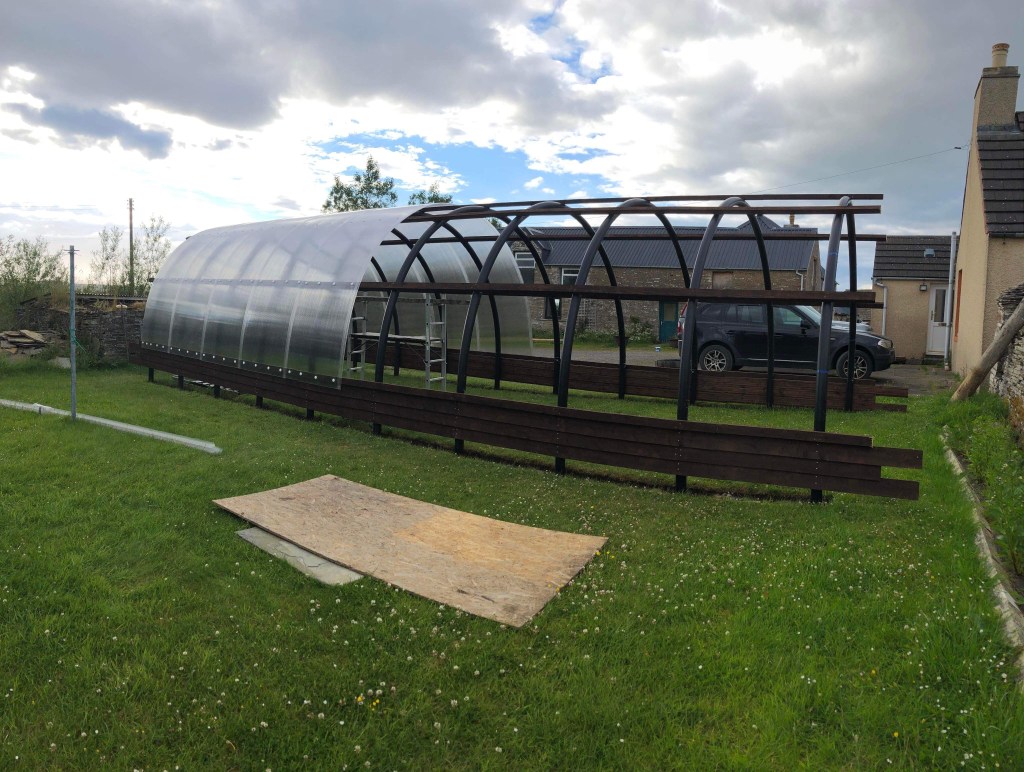
The second end was completed in very much the same way with the exception we were building a stable door instead of a window.

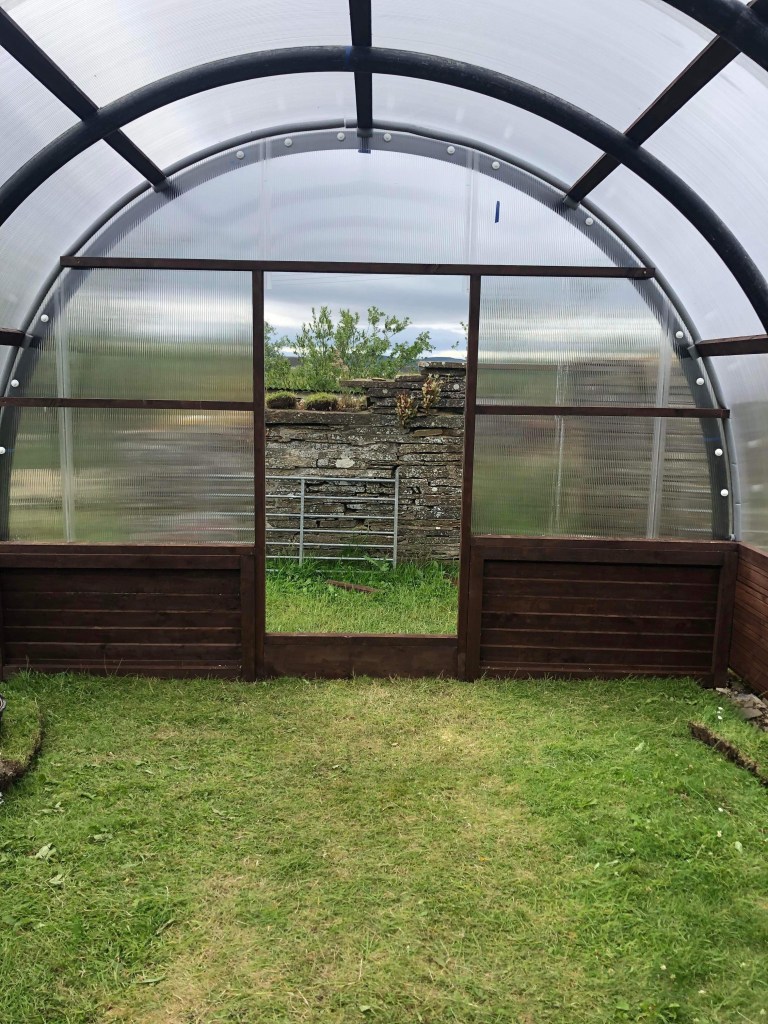
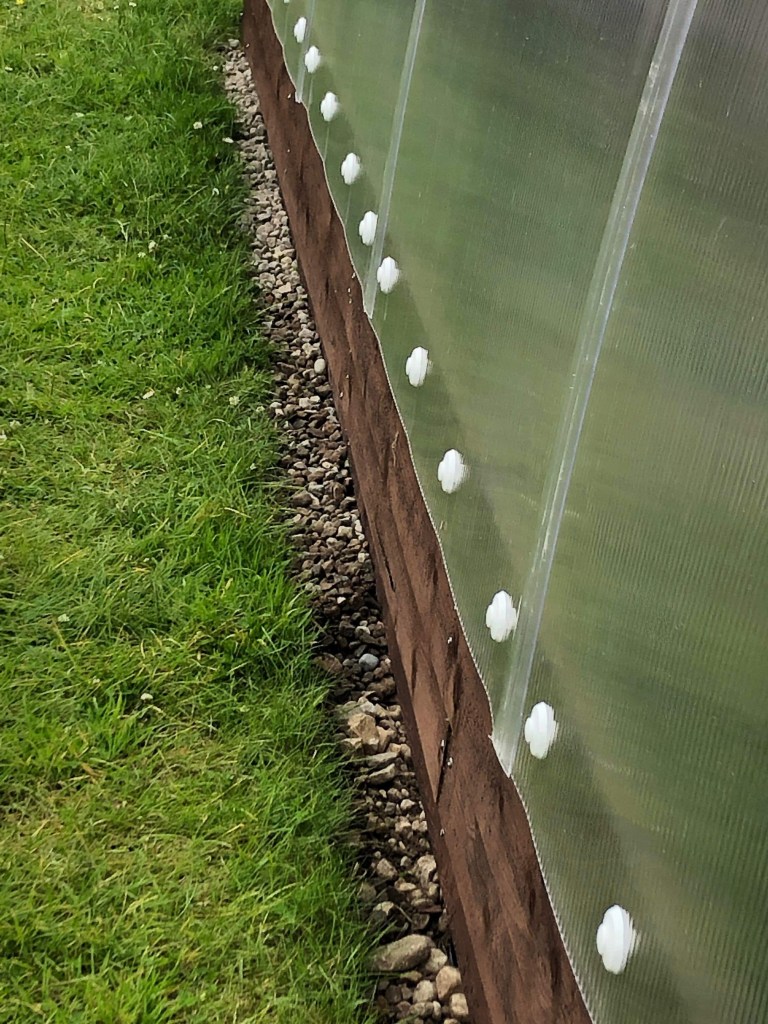
So that just leaves us with some framing left to put round the outside of the door and adding the gravel fill round the bottom of the woodwork.

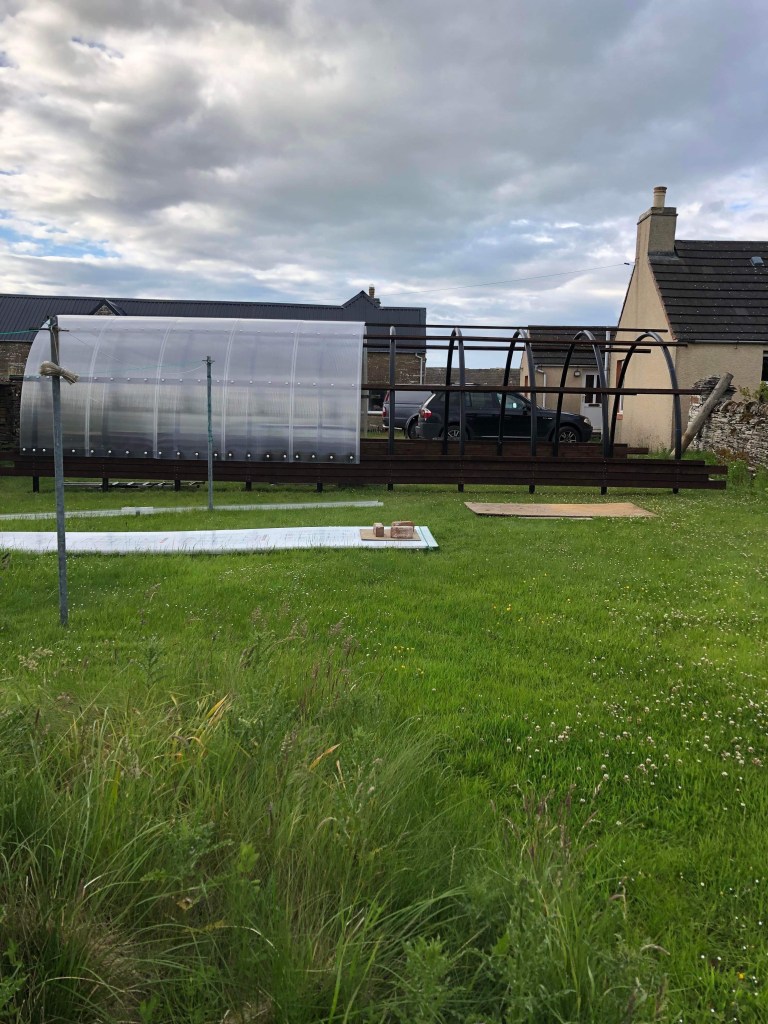
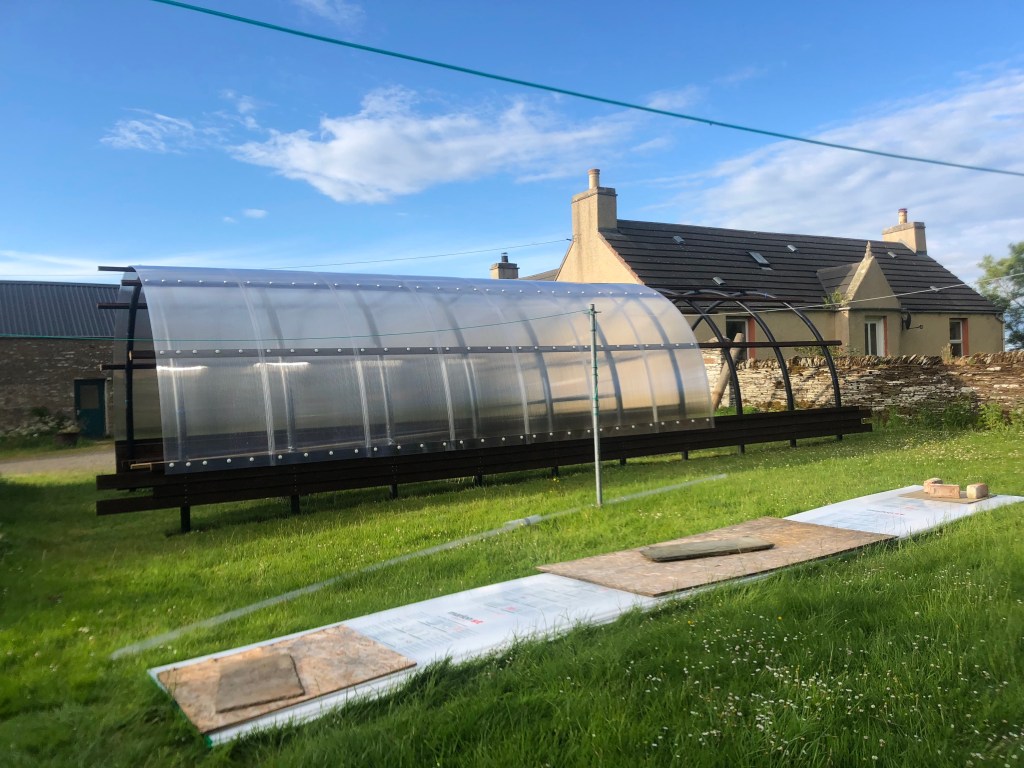
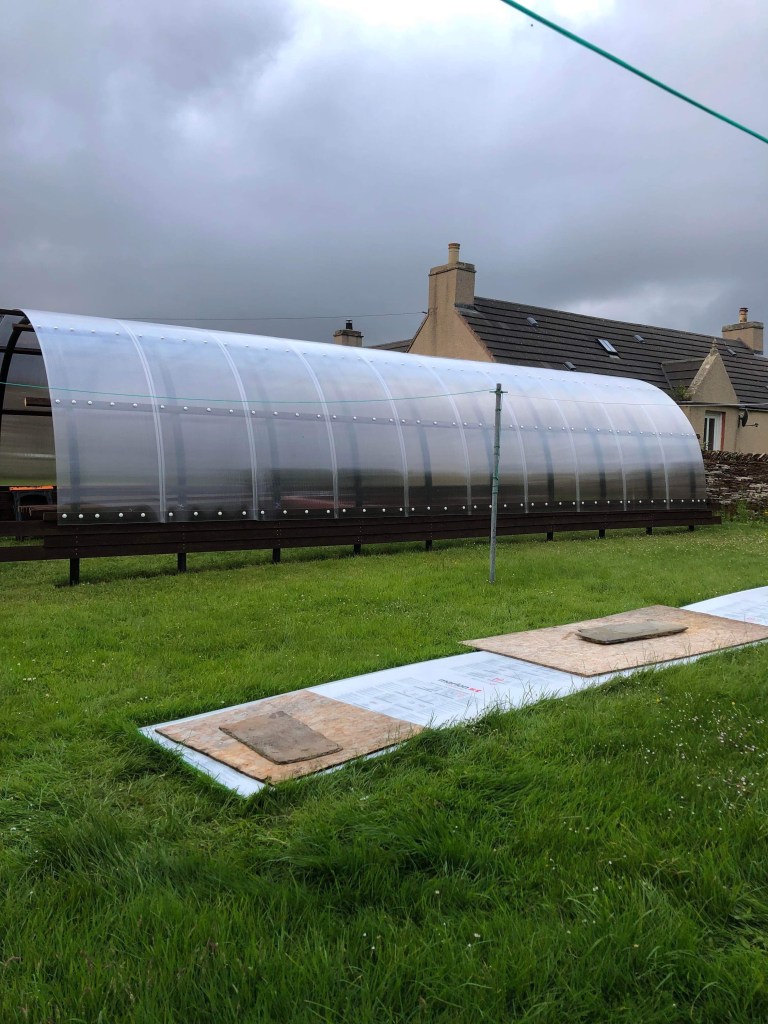
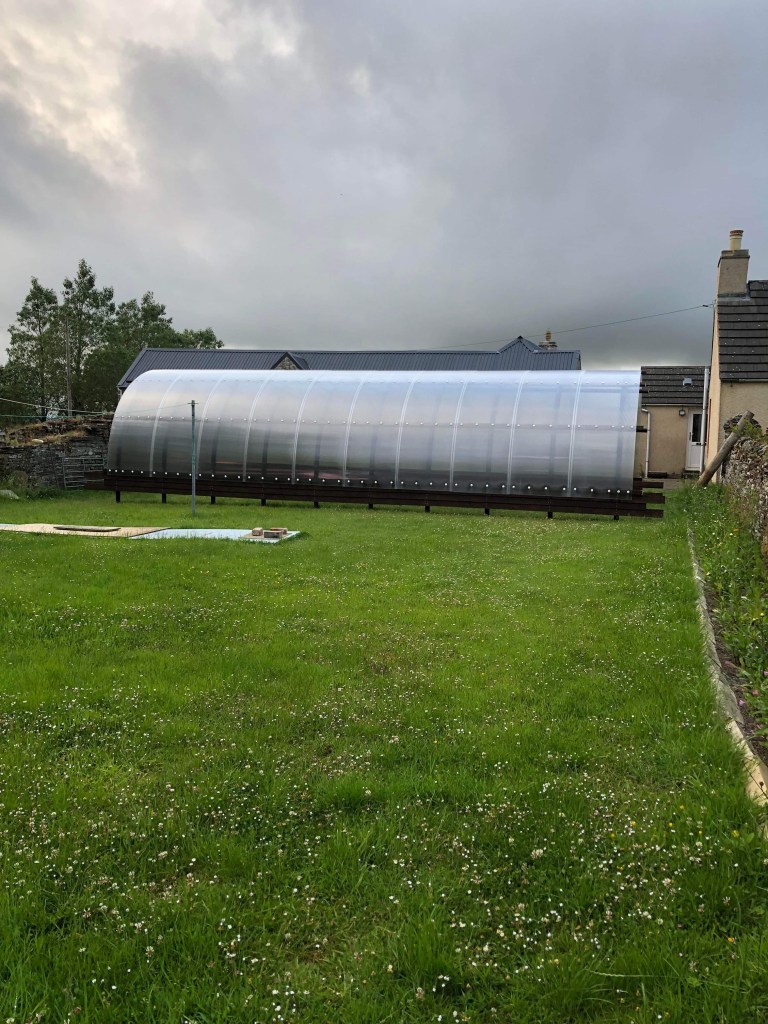
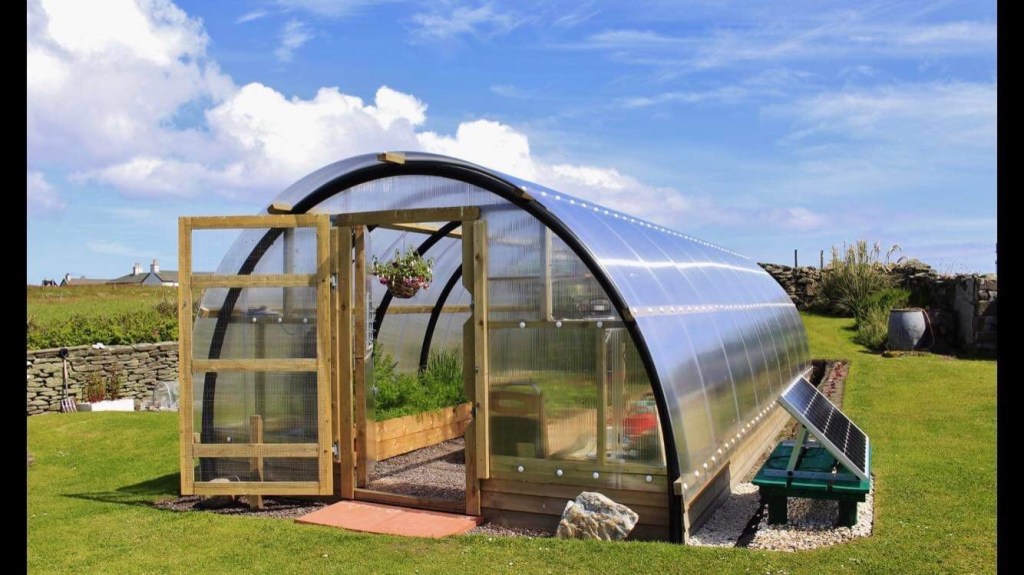
Doing the ends was fiddly and time consuming rather than difficult. I would definitely say that building a polycrub requires more skill that your average DIY job but the structure produced is very solid and robust. The thermometer is due to arrive Monday and it will be interesting to compare the temperatures to the standard polytunnels.

Next onto fitting it out.

Polycrub build, phase 3 – polycarbonate sides.

Good morning with the latest update on our polycrub build. It has been a week of battling the wind so that we could get the polycarbonate sheets up and over the polycrub structure and secured into position. They are very long sheets and pretty light weight so the slightest bit of wind makes moving them into position quite a challenge. As a result it has been a case of dropping everything else as soon as the wind has dropped to add more sheets. The down side of this is that when the wind did drop the midges came out to play.

The first sheet going on was very important to make sure that we had it straight as any faults at this stage would be amplified as we worked out way along the tunnel.

Sheet two is what I am going to very politely describe as interesting. There is a H shaped joining strip that connects the two sheets which are easy to get on when the sheets are flat but not so much when they are in the arch shape. The polycrub instructions suggested a range of tools to try and complete this task including the metal part of a paint roller or a cake slice. We started off with tyre levers. This worked well for poking up the outside part of the H which is slightly longer, but not so well for pulling down the inside. We found that you needed one person pushing the sheet into place and another dealing with the alignment of the H strips. This has to be done starting with one corner and working your way up and over. Be warned though, that if you release the pressure before you have it in place it can slip back out again and you have to go back to the point you still have in position.

So after some mild swearing, we decided there must be an easier way of dealing with the bottom of the H strips. Light bulb moment! So raiding my purse and George’s wallet I found all of the store loyalty cards etc that I could find. Going forward we used the tyre lever to push up the top of the H strip and the loyalty cards to create a pathway for the sheet to be pushed into position. I am not going to say that the made it easy peasy, but it did result in a lot less swearing.

After we got each sheet into position we used clamps to hold it in place while it was secured using the screws and cover buttons. Step 1 was to mark out the correct spacing following the technical drawings. Step 2 drill a pilot hole with a 5mm drill bit. Step 3 drill a 12mm hole just in the polycarbonate for the button to fit into. NOTE – it says at the start of the polycrub tool list you need a 20mm drill and then in the text instructions a 12mm. It is a 12mm that you need.

Step 4 insert the button and 50mm screw. Step 5 apply the screw cover to make it protected from the elements. This last part was trickier that you would think involving a small hammer, hit thumbs, dropping them and getting passed more. They are fiddly little things that resist efforts to get them in place by pinging off in all directions.

By this point we had started to get into a routine where we knew what tasks needed to be done in what order.

And success, the sheets are on!

We have now made it to the weekend and it’s time to make a start on the ends coming up in the next blog. Have a good weekend everyone.

Polycrub build, phase 2 hoops and perlins

We have now completed phase 2 of the polycrub build of installing the hoops and perlins. Once the ground works were complete and the posts cemented into place the next job was to cut the posts to a set, level height.

Once cut down the hoops then had to be cut to size to match the heights of the post above the concrete level and they are then slotted over the posts.

The next phase was to attach the perlins the the twin wall polycarbonate will finally be attached to.

It was then to getting the weather boards attached to the sides below the bottom perlins.

Next phase is to attach the polycarbonate sheets and jointing strips along the length of the polycrub.

Polycrub build, phase 1 – groundwork’s

The latest project here at Achies is building a polycrub. Being in the north of Scotland having undercover growing space is essential to extend the growing season. Our poly tunnels are great is the shelter of the vegetable garden but this new one is going in a more exposed location to make the most of the available sun later in the year. The polycrubs were designed in the Shetland Islands to deal with the conditions there and with the twin wall polycarbonate cover should hold in the heat for longer.

This is what the polycrub should end up looking like.

The first step was to mark out the rough area with pegs and string followed by removing the turf where the ground works need to go.

The the hard work began digging out 20 post holes. This would have been a whole lot easier if our ground wasn’t more stone that soil. There was much used of the pri bar and even had to dig out the jackhammer for some of the holes.

Then excitement the delivery day arrived.

The next part was concreting in the four corner posts. This proved to be more challenging than expected. What really didn’t help was the wind. Trying to accurately measure over a ten metre distance with the tape flapping in rather wind. It involved a whole lot of measuring, remeasuring, some high school maths calculations, working out how many digits means centimetres and which is millimetres. Moving the post a bit and repeating the process all over again.

Success

Today was fitting the rest of the posts. Eleven went in pretty easily with the aid of markings on the string and a special post spirit level. That just left 5 that required a bit of extra digging and the use of the pri bar to expand the holes a little. It is now the end of the day and 19 out of 20 posts are in. The last one is waiting until tomorrow when george is home from work to bring out the jack hammer again and I have recovered from the blood loss as a result to the pesky midges today.

Look out for phase two – putting up the hoops.

Busy days here at Achies

Well we have been flat out, hence it has been a while since I posted last. Yesterday was no exception. First job of the day after feeding, watering and walking was to check the incubator as it is hatch day for the ducklings. We finally had the first ones put in an appearance in the afternoon, but the cuteness factor made the wait worthwhile.

Then on to check on the seedling which are fairing well despite the yo-yo of temperatures over the last two week.

Just a selection on the heated bench, the small tunnel is filling up nicely as well.

Next onto sowing some early peas. It is far to early in the year and the weather to changeable, so we decided to have a go at getting some started off in some old guttering we had hidden in the back of a barn. Fingers crossed for a good transplant once they are finally able to go outside.

They should be nice and secure from mice. I don’t normally have a problem but better not to tempt fate.

And then the big job of the day are it isn’t raining. Keep filling the new raised beds. We top dressed the 8 beds that were already filled last weekend. That just leaves 7 more to fill.

I am delighted to say that is two and a half more done, the number left to do is going down. While I was busy doing all of this george was spending his day in the butchery processing a deer. Lots of lovely venison for the freezer. The day finished with me spotting the arrival of the first flowers on my strawberry table in the large poly tunnel. Not long now to the first strawberry of the year. Yum.

New flower border

Having decided to recycle the ridges off the roofing project. I have been busy creating a new flower border for the bees. I have grown loads for flowers from seeds this year and now we are past the last frost date it was time for me to find them a home.

I started by laying out the ridges to create the border and then dug out the grass. My little rotavator was finally located at the back of the garage and then the planting could begin.

I can complete the mulching tomorrow and the job done. I do however still have some more flowers left to find homes for. Some will get moved into pots for in front of the mill building, but there should be enough for one more new border. The bees will be delighted when this lot flower.

Side two completed

After a busy day in the sun we have finally completed the second side of the mill roof and dismantled the scaffolding. George did a great job with the leading of the valleys and round this side of the chimney.

Just one smaller side left to go by the courtyard and that will be this years big project completed.

In addition to this I have started building a new flower border on the drying lawn to make a home for the flowers I have grown from seed this year. I decided to recycle the ridge stones off the mill roof to create an edging for my new flower border. I am sure the bees will love having another flower border to feast on.

Achies update- end of May

What a busy month it has been. It’s gone from freezing cold to roasting hot. We have very nearly finished the roof on the veg garden side of the mill building.

The small poly tunnel is set up for the summer use of growing tomato plants.

And 90% of the big poly tunnel is planted for the summer with chilli’s, peppers, aubergines, cucumbers, butternut squash, melons, courgettes and salad crops.

We are now at our final frost date so we can now crack on with the outdoor planting. Never a dull moment.

Roofing project update

Well it is a bank holiday weekend here so instead of relaxing we are cracking on with this years roofing project.

In the last update we had finished the steel sheeting on the front of the mill building and had made a start on the first back section. Since then we have re-pointed the gable end and fitted the barge end steel.

We have been very busy today getting the scaffold set up round the back of the mill, stripping another 5 meters of tiles and old sarking board and putting up new OSB. Tomorrow will be membrane and steel.

As you can see from the panoramic photo below there is still a lot to do this side of the L. It is going to be a busy weekend.

April’s blooms

What a month of yo-yoing weather we have had. The poor plants don’t know if they want to flower or hibernate. One day has been frost, snow and hail and the next it is roasting hot. Despite this I have managed to find some beauties, if some what later in the month than normal.

The gorse is covered in blooms
Sunny primroses
Beautiful daffodils
Tulips just thinking about opening
And lovely delicate grape hyacinths

I can’t wait to see what May will bring.

Design a site like this with WordPress.com
Get started