
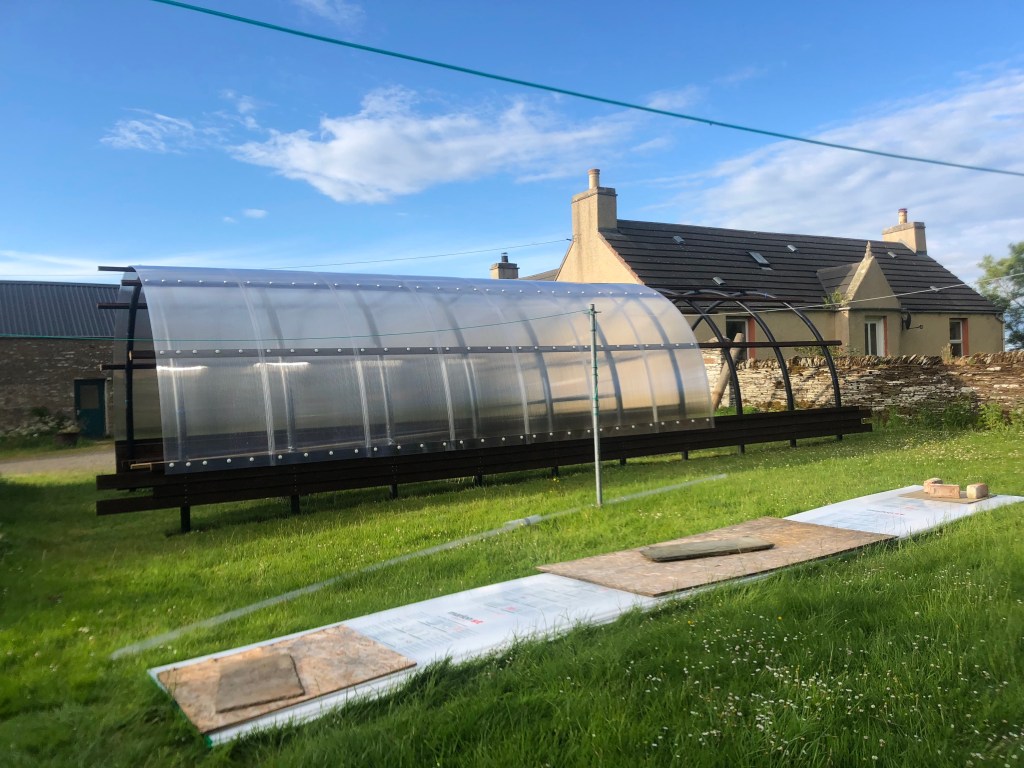
Good morning with the latest update on our polycrub build. It has been a week of battling the wind so that we could get the polycarbonate sheets up and over the polycrub structure and secured into position. They are very long sheets and pretty light weight so the slightest bit of wind makes moving them into position quite a challenge. As a result it has been a case of dropping everything else as soon as the wind has dropped to add more sheets. The down side of this is that when the wind did drop the midges came out to play.
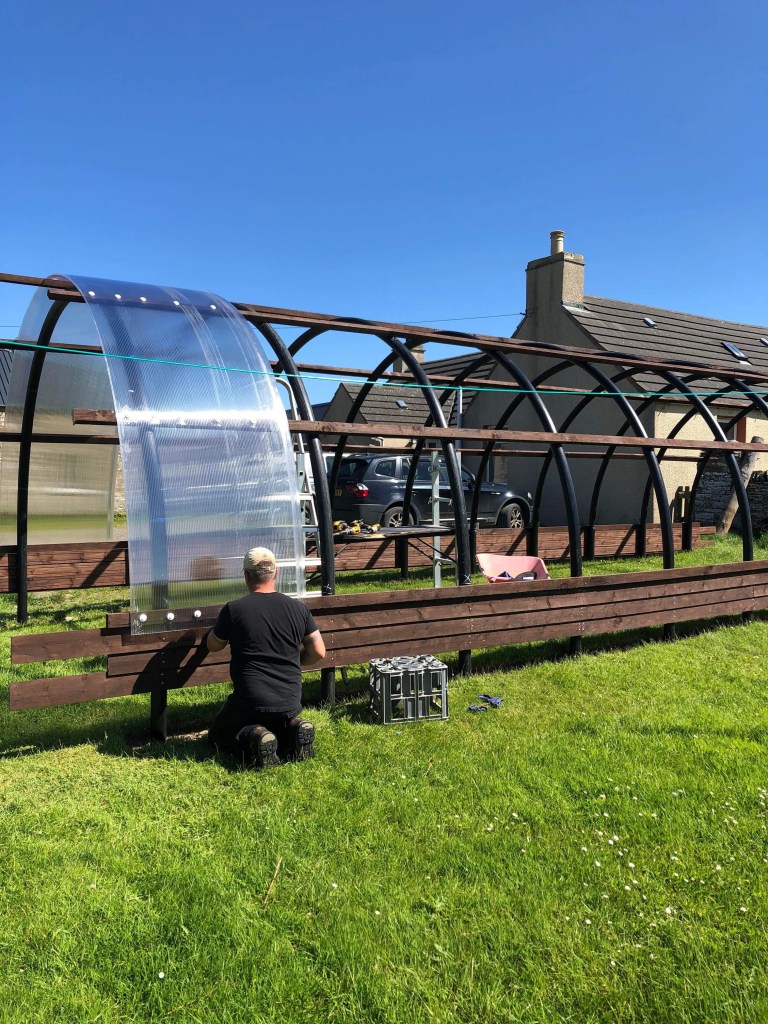
The first sheet going on was very important to make sure that we had it straight as any faults at this stage would be amplified as we worked out way along the tunnel.
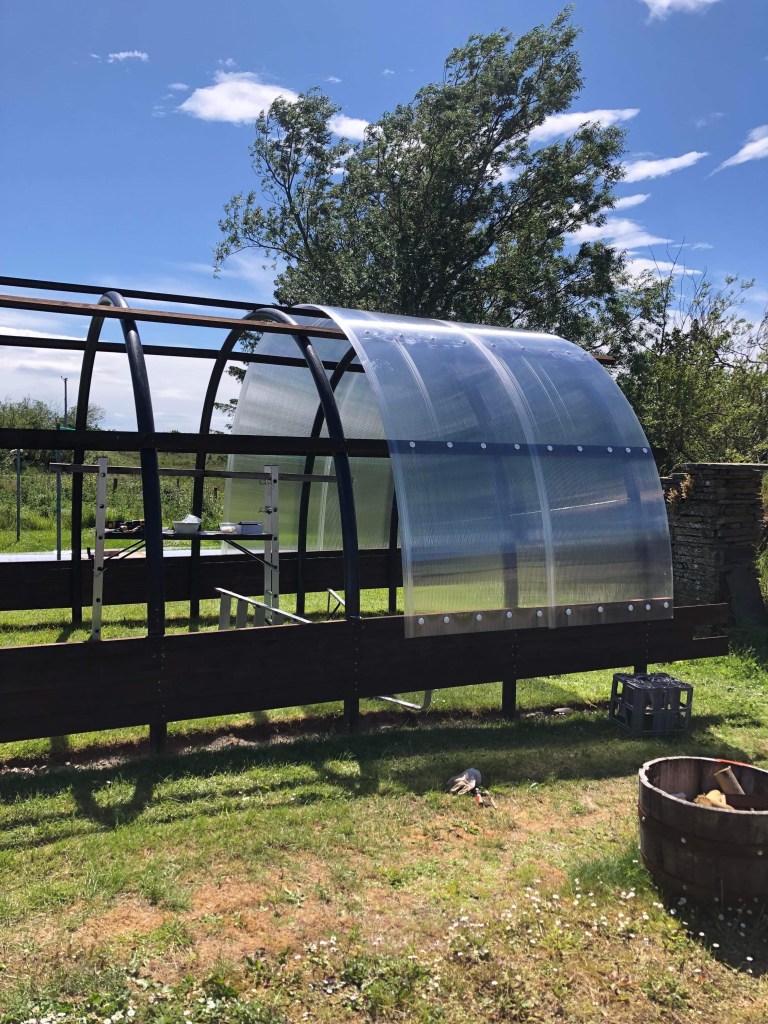
Sheet two is what I am going to very politely describe as interesting. There is a H shaped joining strip that connects the two sheets which are easy to get on when the sheets are flat but not so much when they are in the arch shape. The polycrub instructions suggested a range of tools to try and complete this task including the metal part of a paint roller or a cake slice. We started off with tyre levers. This worked well for poking up the outside part of the H which is slightly longer, but not so well for pulling down the inside. We found that you needed one person pushing the sheet into place and another dealing with the alignment of the H strips. This has to be done starting with one corner and working your way up and over. Be warned though, that if you release the pressure before you have it in place it can slip back out again and you have to go back to the point you still have in position.

So after some mild swearing, we decided there must be an easier way of dealing with the bottom of the H strips. Light bulb moment! So raiding my purse and George’s wallet I found all of the store loyalty cards etc that I could find. Going forward we used the tyre lever to push up the top of the H strip and the loyalty cards to create a pathway for the sheet to be pushed into position. I am not going to say that the made it easy peasy, but it did result in a lot less swearing.
After we got each sheet into position we used clamps to hold it in place while it was secured using the screws and cover buttons. Step 1 was to mark out the correct spacing following the technical drawings. Step 2 drill a pilot hole with a 5mm drill bit. Step 3 drill a 12mm hole just in the polycarbonate for the button to fit into. NOTE – it says at the start of the polycrub tool list you need a 20mm drill and then in the text instructions a 12mm. It is a 12mm that you need.
Step 4 insert the button and 50mm screw. Step 5 apply the screw cover to make it protected from the elements. This last part was trickier that you would think involving a small hammer, hit thumbs, dropping them and getting passed more. They are fiddly little things that resist efforts to get them in place by pinging off in all directions.
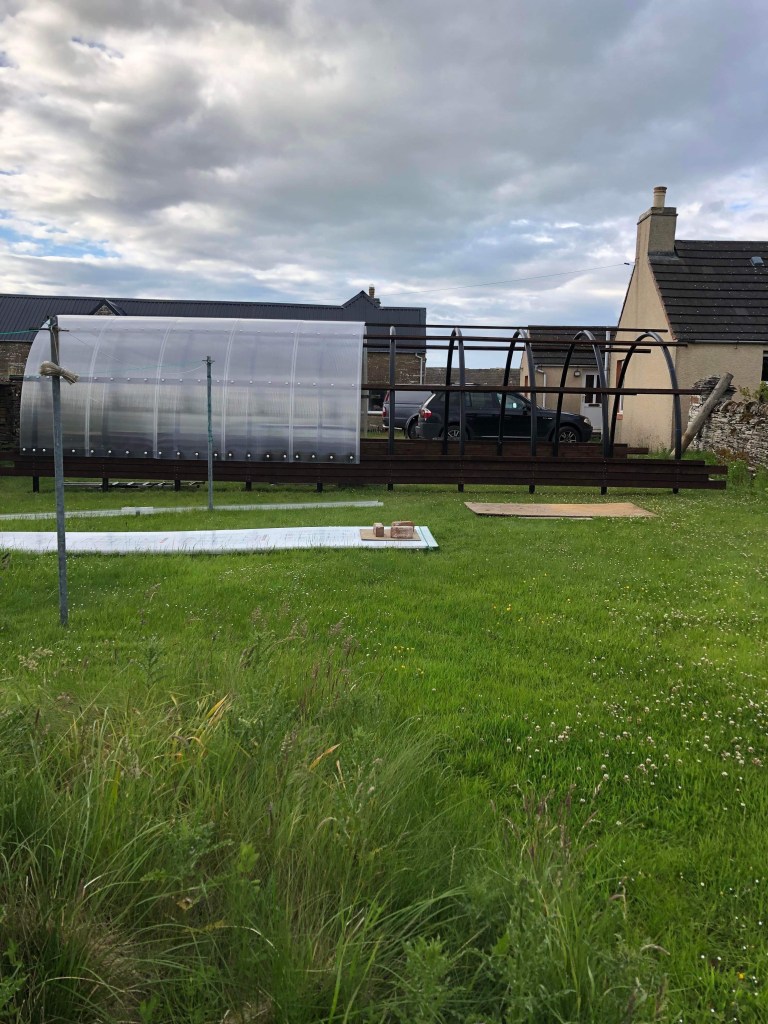
By this point we had started to get into a routine where we knew what tasks needed to be done in what order.
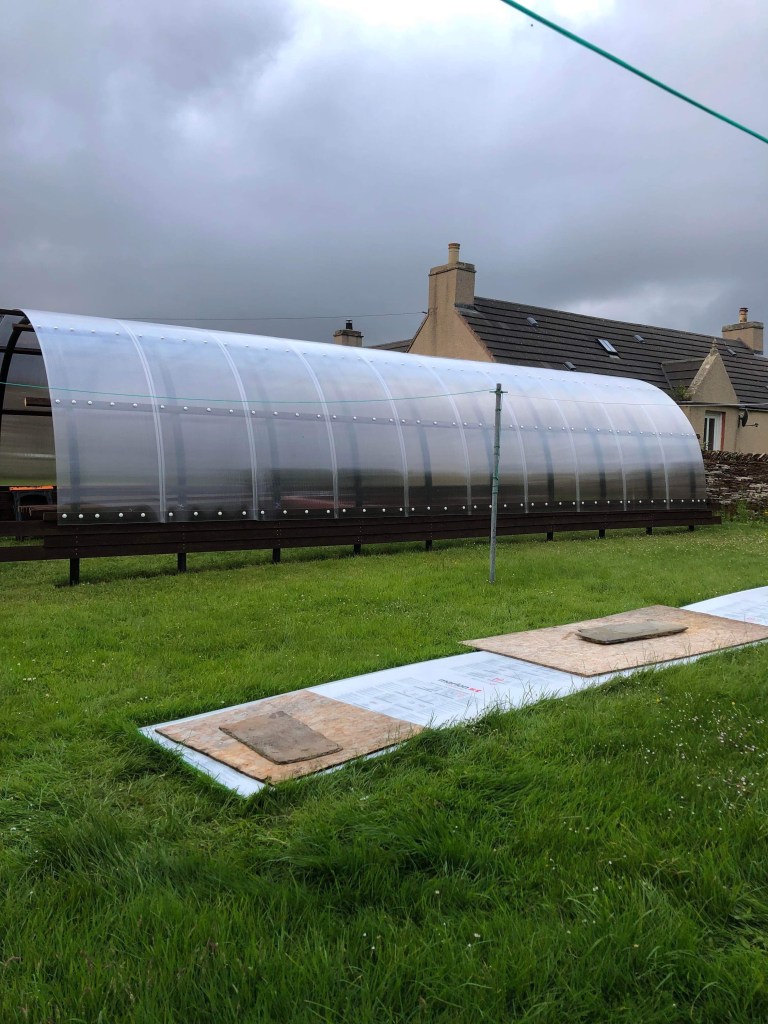
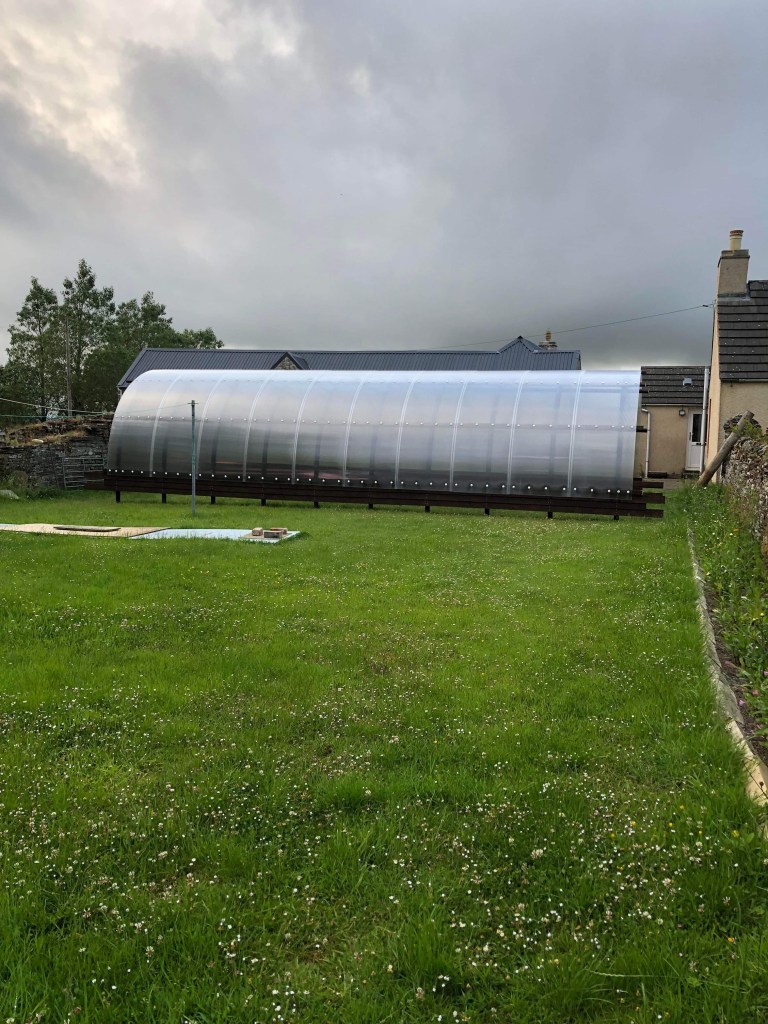
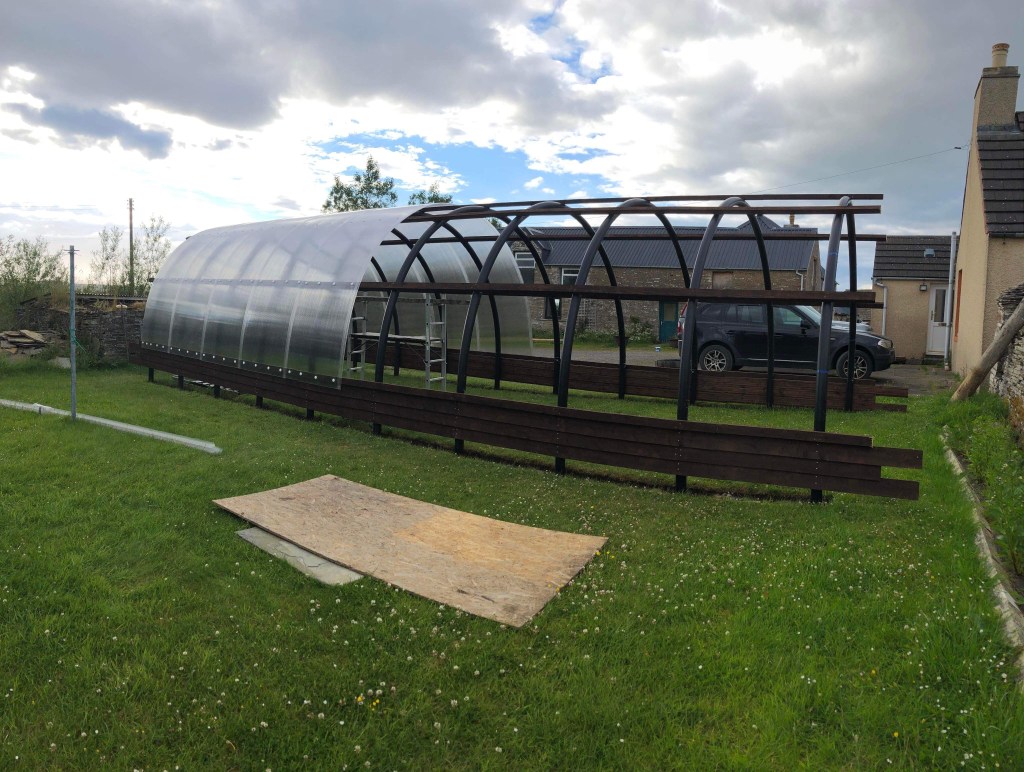
And success, the sheets are on!
We have now made it to the weekend and it’s time to make a start on the ends coming up in the next blog. Have a good weekend everyone.
